
How to Install a Dash Cam on a Honda CR-V
The Honda CR-V is one of America’s favorite compact SUVs, valued for its reliability, space, and comfort. Adding a dash cam to your Honda CR-V is a smart way to boost safety and protect yourself against accidents, traffic disputes, and even theft. Whether you’re installing a simple front camera or a dual setup with rear coverage, the process is straightforward if you follow the right steps.
Here’s a complete guide on how to install a dash cam in your Honda CR-V.
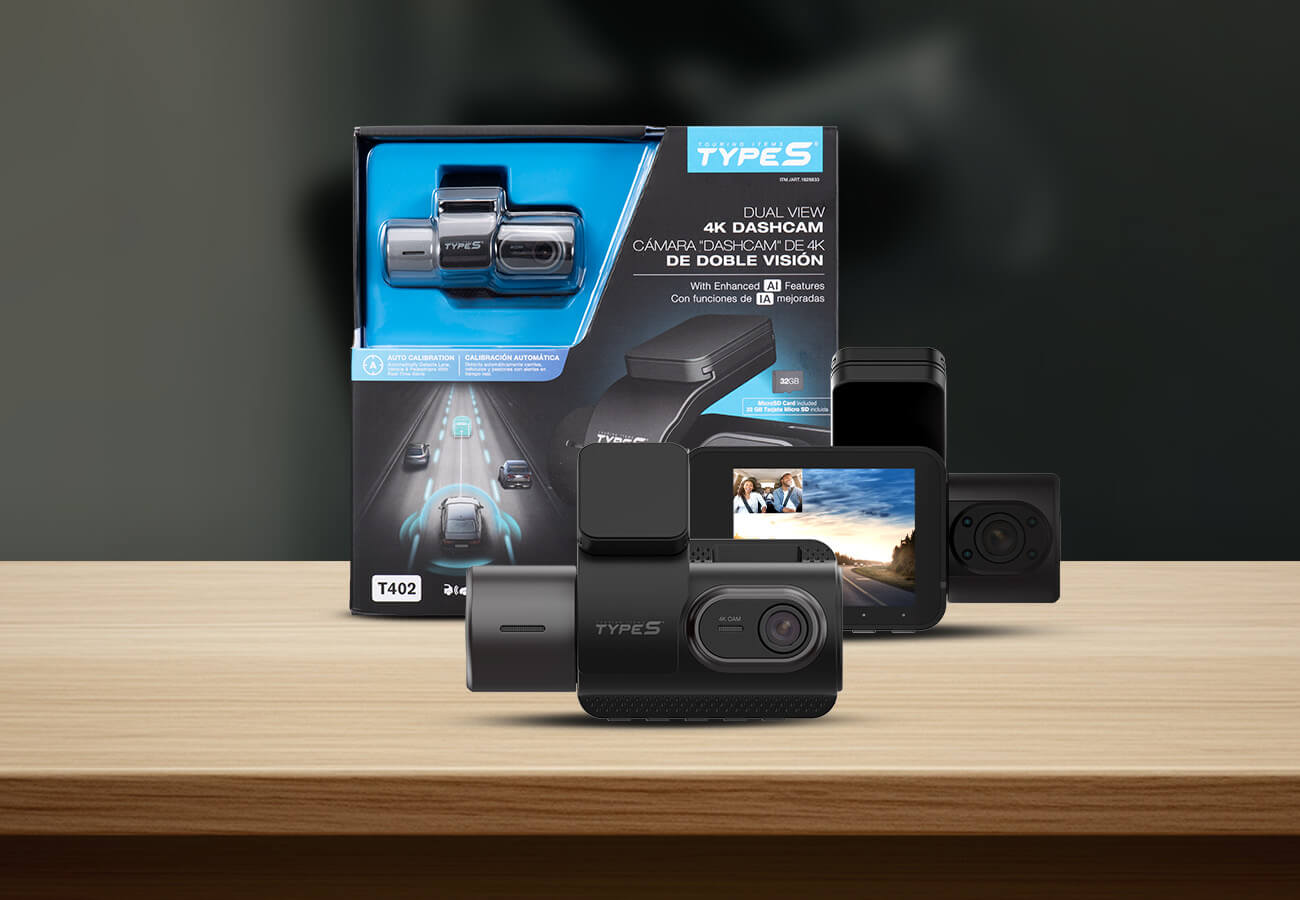
1. Pick the Dash Cam That Fits Your Driving Style

Different drivers have different needs. Consider these options:
- Front Dash Cam – Basic and affordable, records the road ahead.
- Dual Dash Cam (Front + Interior) – Great for rideshare drivers, records passengers and the road at the same time.
- Mirror Dash Cam – Replaces or attaches to your mirror, offering a sleek look with a wide display.
- Front + Rear Dash Cam – Adds rear coverage for protection against tailgaters and rear-end accidents.
- 360° Dash Cam – Full vehicle coverage, including the sides, which is useful in parking lots and tight spaces.
2. Power the Dash Cam First

Before mounting anything, test your camera:
- Plug the dash cam’s power adapter into the 12V outlet. In the Honda CR-V, the 12V plug is typically below the center console or sometimes inside the armrest storage compartment.
- Start the ignition and confirm that the dash cam powers on.
- Record a short video and check playback quality.
This ensures your unit works before going through the effort of hiding wires.
3. Choose the Best Mounting Spot

The best place to install a dash cam in the CR-V is usually:
- Just below the rearview mirror, centered on the windshield.
- This gives the widest, clearest view of the road.
- Keeps the camera discreet and out of your line of sight.
4. Mount the Dash Cam

- Clean the glass with alcohol or glass cleaner.
- Attach the adhesive pad or suction mount where you want the camera.
- Clip the dash cam into place and angle it so it has a clear forward view.
5. Route the Power Cable Neatly

Honda interiors have tight panel gaps, which makes cable management easier:
- Headliner – Tuck the cable above the windshield trim.
- A-pillar – Run the wire down the passenger-side pillar, avoiding the airbag track.
- Door seal / center console – Hide the cable along the edge of the dashboard and into the console area, routing it back to the 12V outlet or fuse box.
This gives you a clean, factory-installed look.
6. Hardwiring Option (For Parking Mode)
If you want 24/7 protection with parking surveillance mode, consider hardwiring:
- Locate the fuse box (under the dashboard near the driver’s side).
- Using a hardwire kit:
- Connect red wire (ACC) to a fuse that turns on with ignition.
- Connect yellow wire (constant) to a fuse with continuous power.
- Connect black wire (ground) to a bare metal bolt.
- Test the setup by turning the ignition on and off — the dash cam should respond accordingly.
7. Adjust Settings Before Driving

Make sure your dash cam is configured properly:
- Resolution – Use the highest option for clear video.
- Loop Recording – Ensures old files are overwritten automatically.
- G-Sensor – Locks footage if a collision is detected.
-
Parking Mode – Activate if hardwired, so your CR-V is protected when parked.
8. Final Test

Take a short drive and confirm that:
- The dash cam powers on/off with ignition.
- The camera angle captures the road clearly.
- Optional rear or interior cameras display properly.
Conclusion
Installing a dash cam in your Honda CR-V is one of the easiest upgrades you can do to enhance safety. By mounting the camera near the rearview mirror, hiding the wires neatly through the headliner and A-pillar, and plugging into the 12V outlet (located under the console or inside the armrest), you’ll have a clean and professional setup.
For extra protection, consider hardwiring your dash cam to unlock parking mode features. With the right camera installed, your Honda CR-V will be ready to capture every drive — giving you peace of mind on the road and while parked.
If you prefer learning using a video guide, here you go!

Leave a comment
This site is protected by hCaptcha and the hCaptcha Privacy Policy and Terms of Service apply.