
The Toyota RAV4 is the most popular SUV in the U.S., known for its versatility, comfort, and reliability. Adding a dash cam to your RAV4 is a smart way to enhance your protection on the road. Whether it’s to record accidents, traffic violations, or even provide extra security while your car is parked, a dash cam can give you peace of mind. In this guide, we’ll walk you through the installation process for a non-AI dash cam.
Step-by-Step Installation Guide
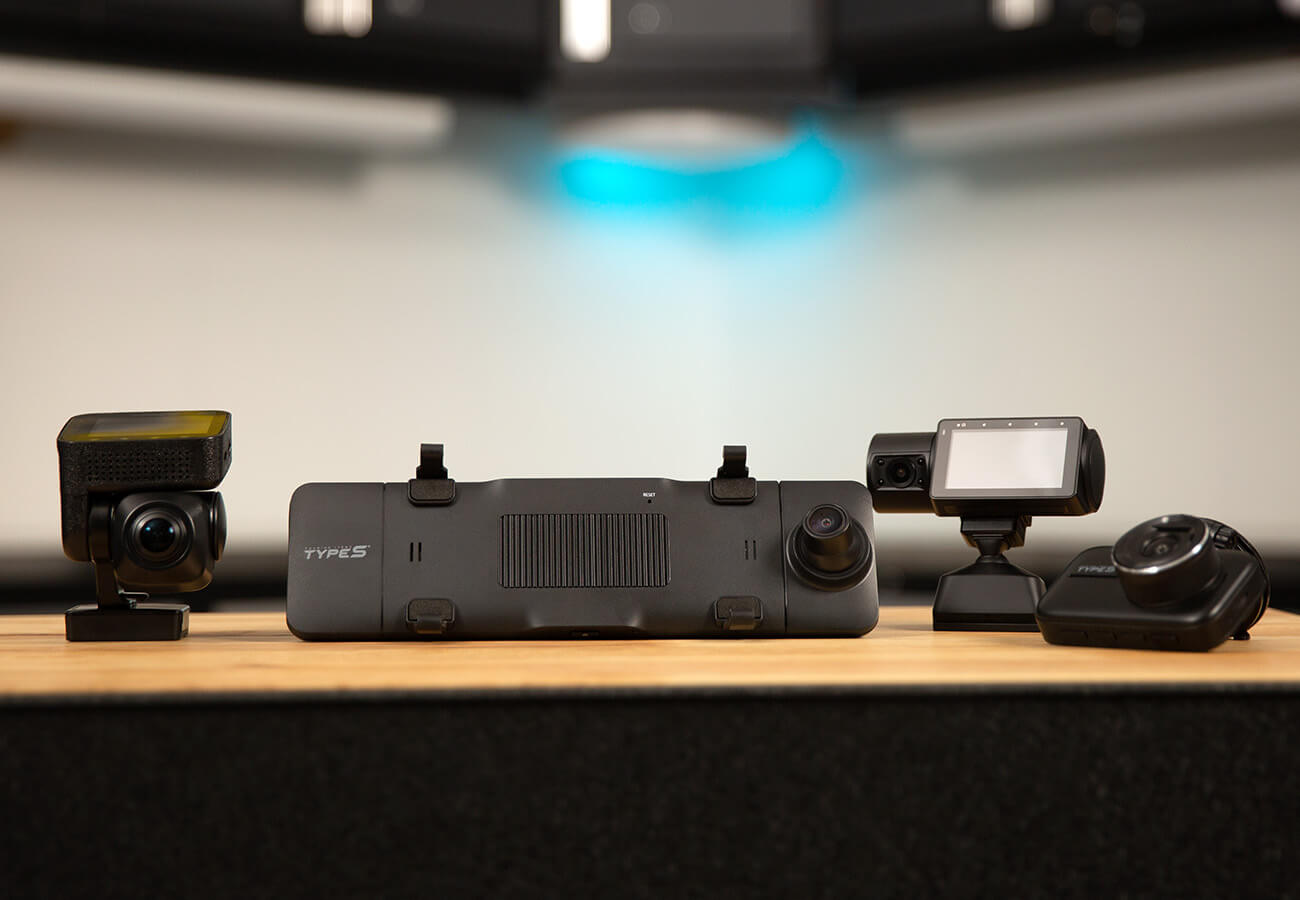
- Choose the Right Dash Cam for Your Needs

Before diving into the installation, it’s important to choose the right type of dash cam based on your preferences. Here are the benefits of different types of dash cams:
- Front-Facing Dash Cam: This type records the road ahead, perfect for capturing accidents or road conditions that affect your driving. It's a straightforward option for those who only need front coverage.
- Dual-View Dash Cam: Captures both the front of the vehicle and the interior. This is ideal for rideshare drivers or anyone who wants to monitor passengers as well as the road. It offers more comprehensive coverage.
- Mirror Dash Cam: A sleek option that integrates into your rearview mirror, saving space on the windshield. It combines rearview monitoring with front recording and often features a touch screen for easy operation.
- 360-Degree Dash Cam: Provides a full 360-degree view around your vehicle. This is excellent for full coverage, offering a wider range of protection, including the sides of your car, which standard cameras might miss.
- Front + Rear Dash Cam: Records both the road ahead and behind, giving you a clear view of what’s happening in both directions. This is particularly useful for backing up or for rear-end collisions.
- Test the Dash Cam Before Mounting
Before permanently mounting the dash cam, it’s a good idea to test the device to make sure it powers on properly using your vehicle’s 12V outlet. Here’s how to do it:
- Connect the dash cam to the 12V port: Plug the dash cam’s power cable into the 12V cigarette lighter port in your RAV4.
- Turn on the ignition: Start the vehicle to ensure the dash cam powers on automatically.
- Check the display: Verify that the camera begins recording and that all settings are accessible.
- Review the footage: Record a short video and check the quality to ensure the camera is working properly.
Once you’re sure everything is functioning correctly, you can proceed with mounting the dash cam.
The best position for your dash cam is the center of the windshield, just below or behind the rearview mirror. This placement provides the clearest view of the road without obstructing your view as a driver. If you have an AI-powered dash cam (though this guide focuses on non-AI models), centering the camera is crucial for the accuracy of features like lane departure warnings and collision detection.
- Mount the Dash Cam
After testing and positioning, you can mount the dash cam:
- Clean the windshield: Use a glass cleaner to ensure the surface is free of dust or oils where you plan to attach the dash cam.
- Attach the mount: Whether using an adhesive mount or a suction cup, secure the mount in place. Press firmly for an adhesive or lock the suction cup in position.
- Mount the dash cam: Attach the dash cam to the mount, making sure it is level and has an unobstructed view of the road.
- Route the Power Cable
To keep your installation clean, you’ll want to tuck the power cable along the edges of your interior trim:
- Tuck the cable into the headliner: Starting from the top of the windshield, gently tuck the cable into the headliner using a trim removal tool or your hands.
- Run the cable down the A-pillar: Be careful not to interfere with any airbags housed in the A-pillar.
- Continue along the door seal: Run the cable down the side of the dashboard, keeping it hidden along the door seal, and then to the 12V outlet or fuse box (if you are hardwiring).
- Hardwiring the Dash Cam (Optional)
For a cleaner setup or if you want to use features like parking mode, consider hardwiring your dash cam to the fuse box:
- Locate the fuse box: In the Toyota RAV4, this is usually located under the dashboard or in the engine bay.
- Use a fuse tap: If using a hardwiring kit, connect the red wire (ACC) to a fuse that only powers on with the ignition and the yellow wire (constant power) to a fuse with constant power. Ground the black wire to a metal surface in the vehicle.
- Test the setup: Turn the vehicle on and off to ensure the dash cam is functioning as intended.
- Final Adjustments and Settings
Once the dash cam is mounted and connected, take a few moments to adjust the settings:
- Resolution: Set the camera to the highest resolution for the clearest footage.
- Loop recording: Enable loop recording so the dash cam continuously overwrites the oldest footage when the memory card fills up.
- G-sensor sensitivity: Adjust the G-sensor, which detects sudden impacts and locks the footage.
- Parking mode: If hardwired, activate parking mode to monitor your vehicle when it’s off.
- Review and Test Again
Finally, take your RAV4 for a quick drive to make sure the dash cam is working properly. Verify that it’s recording footage, the video quality is clear, and it powers on and off with the ignition. Test additional features, such as view switching (if applicable), and ensure the camera is capturing everything you need.
Conclusion
Installing a dash cam in your Toyota RAV4 is a simple yet effective way to enhance your safety on the road. Whether you’re looking for a basic front-facing dash cam or a full 360-degree view setup, this guide provides the steps to get it installed and running smoothly. Remember to test your dash cam before mounting it, and ensure the wiring is neatly tucked away for a clean, professional look. With the right dash cam, you can drive with confidence knowing your vehicle is always protected.
In case you prefer to learn this through a video:
Leave a comment
This site is protected by hCaptcha and the hCaptcha Privacy Policy and Terms of Service apply.