
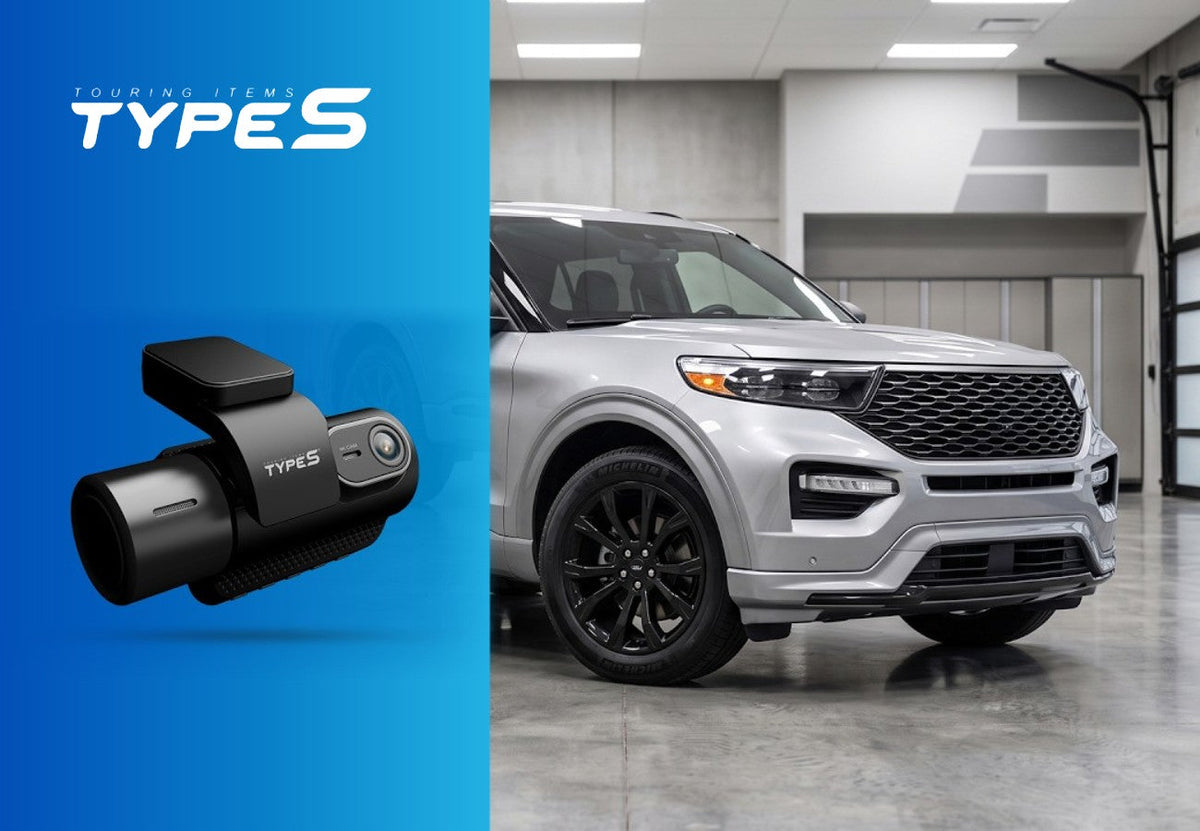
How to Install a Dash Cam on a Ford Explorer?
The Ford Explorer is one of America’s most popular three-row SUVs, loved for family road trips, daily commutes, and everything in between. Installing a dash cam in your Ford Explorer is a smart upgrade that protects you and your passengers. From recording accidents and insurance disputes to keeping an eye on your SUV in busy parking lots, an Explorer dash cam adds peace of mind every time you drive.
In this step-by-step guide, we’ll show you how to install a dash cam on a Ford Explorer — including the best mounting spot, which 12V outlet to use, how to hide the wires, where to mount a rear camera on the liftgate, and how to hardwire for parking surveillance. Prefer to watch? Our installation video is at the bottom of this page.
Step-by-Step Ford Explorer Dash Cam Installation
1. Choose the Best Dash Cam for a Ford Explorer

Before starting the installation, decide which type of dash cam fits how you use your Explorer:
- Front-Facing Dash Cam – Simple installation that records the road ahead, perfect for drivers who only need forward coverage.
- Dual-View Dash Cam – Records the road and the cabin at the same time, ideal for families with kids in the second and third rows, and for rideshare drivers. Look for infrared night vision on the cabin camera.
- Mirror Dash Cam – Replaces or clips onto your rearview mirror for a clean, integrated look.
- 360-Degree Dash Cam – Covers every angle, including side impacts and blind spots.
- Front + Rear Dash Cam – Full front and rear coverage, great protection against rear-end collisions and tailgaters.
When choosing, consider features like parking mode, GPS, and AI-based driver alerts.
2. Find the Best Dash Cam Placement in a Ford Explorer

The best place to mount a dash cam in a Ford Explorer is near the top of the windshield, behind or close to the rearview mirror. This position gives you:
- A clear, wide view of the road ahead.
- No blocked sightlines while driving.
- A stable, centered angle for AI driver assistance features.
If your Explorer has a camera or sensor housing behind the mirror (common on models with Ford Co-Pilot360™), mount the dash cam just beside it so neither is blocked.
3. Mount the Dash Cam to the Windshield
- Clean and dry the mounting area with glass cleaner.
- Attach the dash cam mount to the windshield.
- Secure the camera in place so it’s level and angled properly.
4. Hide the Dash Cam Wires in a Ford Explorer
For a clean, factory-style installation:
- Headliner – Connect the power cable to the dash cam, then tuck it along the top edge of the windshield and into the headliner.
- A-pillar – Route the cable down the side of the vehicle along the A-pillar. Keep the cable behind the airbag, not in front of it.
- Door seal and dash – Continue along the weather stripping and under the dash toward the 12V outlet.
5. Connect to a 12V Outlet in Your Ford Explorer

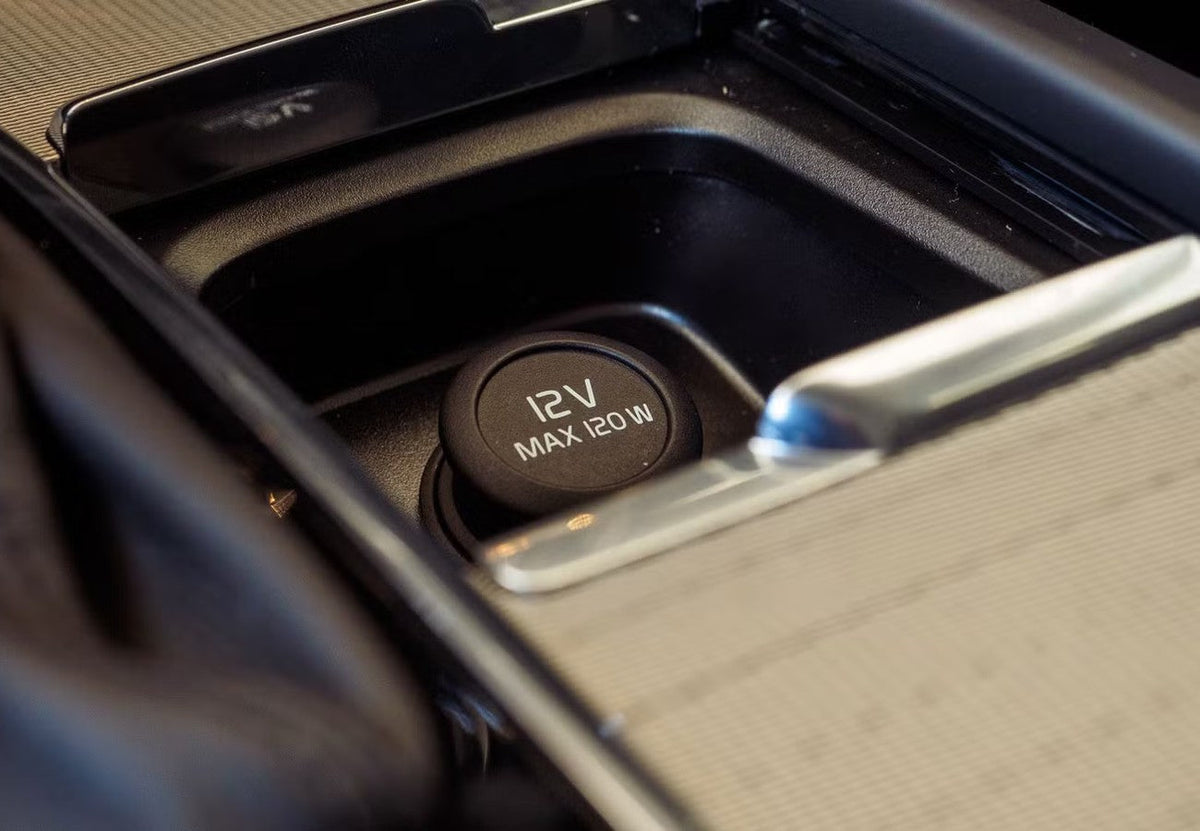
The Ford Explorer gives you a few options. Depending on the model year and trim, you should find a 12V power outlet:
- Under the center console
- Inside the armrest storage compartment
- Behind the armrest, facing the second row
Use the 12V adapter that came with your dash cam rather than a USB port. Built-in USB ports don’t always supply enough steady power for a dash cam, which can cause random restarts or missed recordings. Here’s why the 12V outlet is the better choice.
6. Power On and Test the Dash Cam
- Start the vehicle and confirm the dash cam powers on automatically.
- Adjust the camera angle so the road ahead is clearly visible.
- Complete any initial settings, like date, time, and resolution.
- Record a short clip and play it back to confirm clear video quality.
7. Install the Rear Camera on Your Explorer (Optional)

If your dash cam includes a rear camera:
- Route the rear camera cable along the headliner and trim toward the back of the SUV.
- Mount the camera near the top of the rear liftgate window, where it has a clear view behind the vehicle.
- Connect the rear camera cable to the main dash cam.
Explorer tip: Leave a little slack where the cable passes from the roof to the liftgate so it doesn’t pull or pinch when you open the hatch, and keep the camera clear of the rear defroster lines and wiper.
8. Know How the Ford Explorer’s 12V Outlet Works
Important for Ford owners: The 12V outlet in many Ford vehicles can stay powered for a period of time after you turn the vehicle off — often around 30 minutes or longer, depending on the model year and vehicle settings. On some models it stays on all the time.
Check your owner’s manual to confirm how your Explorer’s outlet works. If it stays powered continuously, unplug the dash cam when you’re not using the vehicle to help prevent battery drain (and keep a portable jump starter handy just in case).
9. Hardwire a Dash Cam in a Ford Explorer (Optional)

For 24/7 parking surveillance without worrying about the outlet or your battery, hardwire your dash cam instead:
- Locate the Explorer’s interior fuse panel. It’s usually on the passenger side, in the footwell area behind a trim panel; your owner’s manual shows the exact location and fuse chart.
- Use the fuse taps from a compatible hardwiring kit:
- Red wire → ACC fuse (ignition power).
- Yellow wire → Constant power fuse.
- Black wire → Ground (bare metal bolt).
- Test by turning the ignition on and off to make sure the dash cam responds correctly.
10. Adjust Dash Cam Settings for Best Performance
- Resolution – Choose the highest resolution for clear license plate capture.
- Loop Recording – Keeps the memory card from filling up by overwriting old files.
- G-Sensor – Locks video during sudden impacts.
- Motion Detection – Leave it off while driving; use it only for parked monitoring.
- Parking Mode – Enable if hardwired, so your Explorer is protected while parked.
Ford Explorer Dash Cam FAQ
Where is the best place to mount a dash cam in a Ford Explorer?
Near the top of the windshield, behind or close to the rearview mirror, without blocking any factory camera or sensor housing.
Where are the 12V outlets in a Ford Explorer?
Depending on the model year and trim, under the center console, inside the armrest, or behind the armrest facing the second row.
Does the Ford Explorer’s 12V outlet stay on when the car is off?
It can. On many Ford vehicles the outlet stays powered for around 30 minutes or longer after shutdown, and on some it stays on all the time. Check your owner’s manual, and unplug the dash cam or hardwire it with low-voltage protection if needed.
Can I install a rear dash cam on a Ford Explorer?
Yes. Mount it near the top of the rear liftgate window and leave some cable slack at the liftgate hinge.
Conclusion
Installing a dash cam in a Ford Explorer is a straightforward DIY upgrade that improves safety, accountability, and peace of mind for you and your passengers. Whether you choose a front-facing dash cam, a dual-view dash cam to watch the cabin, or a front and rear dash cam for your Explorer, the process is nearly the same.
Mount it near the rearview mirror, hide the cables, plug into the 12V outlet, and remember how Ford’s outlets behave after shutdown. For round-the-clock protection, hardwire your Explorer dash cam to enable parking mode.
Installing on a different vehicle? See our guides for the Honda CR-V, Toyota RAV4, Nissan Rogue, minivans, and Chevy trucks.
If you prefer learning through a video, here you go!

Leave a comment
This site is protected by hCaptcha and the hCaptcha Privacy Policy and Terms of Service apply.