
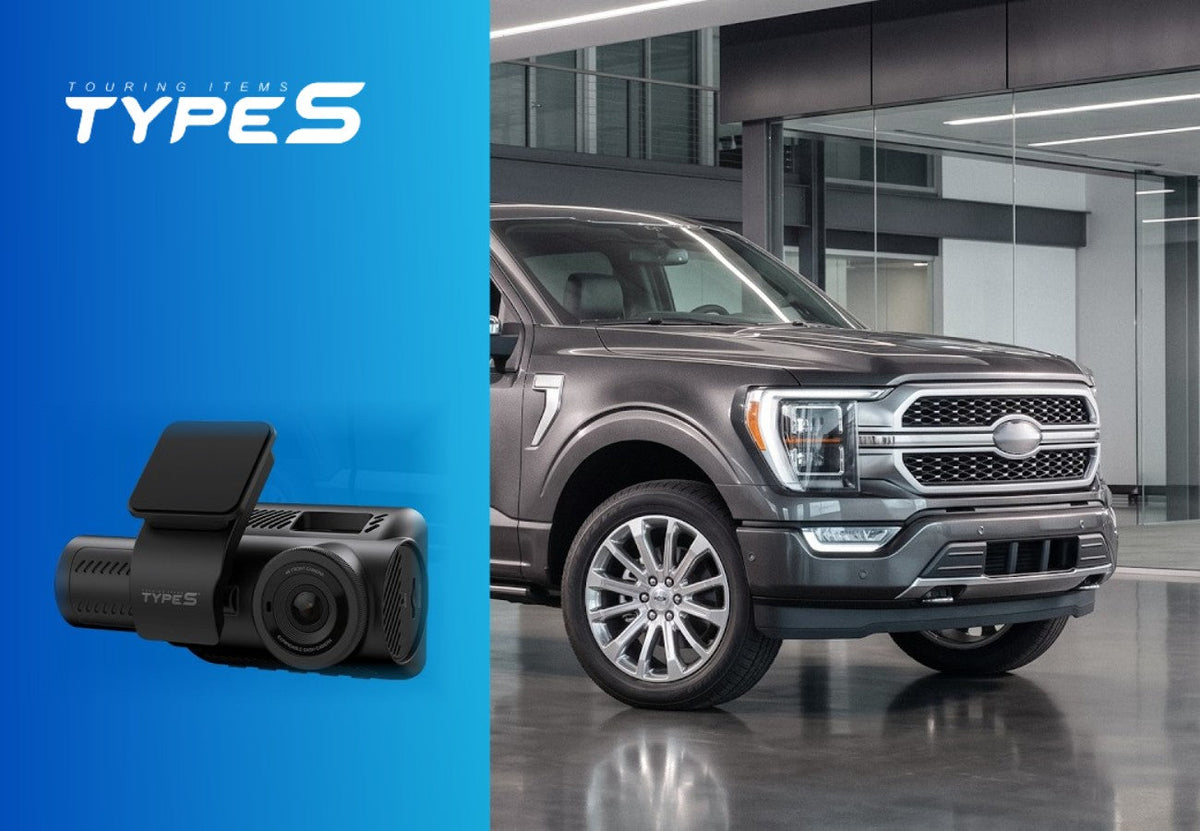
How to Install a Dash Cam on a Ford F-150?
The Ford F-150 has been America’s best-selling pickup truck for decades, trusted for work, towing, road trips, and everything in between. Installing a dash cam in your Ford F-150 is one of the smartest upgrades you can make. From recording accidents and road-rage incidents to keeping an eye on your truck at the job site or in a parking lot, an F-150 dash cam gives you proof and peace of mind every time you drive.
In this step-by-step guide, we’ll show you how to install a dash cam on a Ford F-150 — including the best mounting spot, how to hide the wires, where to mount a rear camera on a truck, and how to hardwire your dash cam for parking surveillance. Prefer to watch? Our installation video is at the bottom of this page.
Step-by-Step Ford F-150 Dash Cam Installation
1. Choose the Best Dash Cam for a Ford F-150

Before starting the installation, decide which type of dash cam fits how you use your truck:
- Front-Facing Dash Cam – Simple installation that records the road ahead, perfect for daily drivers who only need forward coverage.
- Dual-View Dash Cam – Records the road and the cab at the same time, ideal for work trucks, fleets, and rideshare drivers. Look for infrared night vision on the cabin camera.
- Mirror Dash Cam – Replaces or clips onto your rearview mirror for a clean, integrated look.
- 360-Degree Dash Cam – Covers every angle, including side impacts and blind spots.
- Front + Rear Dash Cam – Full front and rear coverage, highly recommended for a full-size truck where rear visibility over the bed is limited.
When choosing, consider features like parking mode, GPS, and AI-based driver alerts. In our video we use the TYPE S S406, but these steps work with most dash cams.
2. Test the Dash Cam in Your Ford F-150

Before mounting anything permanently, test your camera:
- Plug the dash cam into the F-150’s 12V outlet. On most F-150s, the 12V outlets are on the instrument panel around the center console or inside the center console storage area, depending on your model year and trim.
- Start the truck and confirm the dash cam powers on automatically.
- Check that the screen turns on and recording begins.
- Review a short clip to confirm clear video quality.
This makes sure the unit works before you spend time hiding wires.
3. Find the Best Dash Cam Placement in a Ford F-150

The best place to mount a dash cam in a Ford F-150 is the center of the windshield, right below or behind the rearview mirror. This position gives you:
- A wide, unobstructed view of the road.
- No blocked sightlines while driving.
- Proper alignment for AI dash cams. AI dash cams like the TYPE S T400 PLUS and T200 PLUS offer a truck mode; switch it on so blind spot detection and collision alerts account for your truck’s size and bed.
If your F-150 has a camera or sensor housing behind the mirror (common on trucks with Ford Co-Pilot360™), mount the dash cam just beside it so neither is blocked.
4. Mount the Dash Cam to the Windshield
- Clean the windshield with glass cleaner.
- Apply the included adhesive film or mount.
- Secure the dash cam so it’s level and angled properly, with the lens capturing slightly more road than hood.
5. Hide the Dash Cam Wires in a Ford F-150
For a clean, factory-style installation:
- Headliner – Tuck the power cable into the gap along the top of the windshield, routing toward the passenger side.
- A-pillar – Run it down the passenger-side A-pillar. Keep the cable behind the airbag, not in front of it.
- Weather stripping and dash – Continue down the door seal and underneath the dash to your 12V outlet.
Plug in the power adapter and secure any extra cable with adhesive clips so it stays out of your feet and cargo.
6. Install the Rear Camera on Your F-150 (Optional)

If your dash cam comes with a rear camera:
- Connect the rear camera cable to the main dash cam.
- Using the same routing method, tuck the cable along the headliner and trim toward the back of the cab.
- Clean the rear window and mount the camera where it has a clear view behind the truck.
- Adjust the angle and secure any remaining cable.
F-150 tip: If your truck has a sliding rear window, mount the camera on a fixed section of glass and avoid the defroster lines. SuperCrew cabs need a longer run, so check that your rear camera cable is long enough before you start.
7. Hardwire a Dash Cam in a Ford F-150 (Optional)

Important for Ford owners: On many Ford vehicles, the 12V outlet can stay powered for some time after you turn the truck off — and on some models it stays on all the time. Check your owner’s manual to confirm how the outlet works on your F-150. If it stays powered, unplug your dash cam when you’re not driving to avoid draining the battery (and keep a portable jump starter in the cab just in case).
For 24/7 parking surveillance without battery worries, hardwire your dash cam instead:
- Locate the F-150’s interior fuse panel. On most recent model years it sits in the passenger-side footwell behind a trim panel; your owner’s manual shows the exact location and fuse chart.
- Use the fuse taps from a compatible hardwiring kit:
- Red wire → ACC fuse (ignition power).
- Yellow wire → Constant power fuse.
- Black wire → Ground (bare metal bolt).
- Test by turning the ignition on and off to make sure the dash cam responds correctly.
8. Adjust Dash Cam Settings for Best Performance
Once installed, optimize your dash cam:
- Resolution – Choose the highest resolution for clear license plate capture.
- Loop Recording – Keeps the memory card from filling up by overwriting old files.
- G-Sensor – Locks video during sudden impacts. AI-triggered incident recording can capture events a G-sensor might miss.
- Parking Mode – Enable if hardwired, so your F-150 is protected while parked.
9. Test the Dash Cam in the Ford F-150
Take a short drive and verify:
- The dash cam powers on and off with the ignition.
- The front camera view is clear and angled correctly.
- The rear camera (if installed) is recording and properly aligned.
Ford F-150 Dash Cam FAQ
Where is the best place to mount a dash cam in an F-150?
Center of the windshield, just below or behind the rearview mirror, without blocking any factory camera or sensor housing.
Does the F-150’s 12V outlet stay on when the truck is off?
On many Ford vehicles it can stay powered for a while after shutdown, and on some it stays on all the time. Check your owner’s manual. If it stays on, unplug the dash cam or use a hardwiring kit with low-voltage protection.
Can I install a rear dash cam on an F-150?
Yes. The easiest spot is inside the rear window, on a fixed section of glass. No drilling required.
Do I need to hardwire my F-150 dash cam?
No. Plugging into the 12V outlet works for recording while you drive. Hardwiring is only needed for parking mode or a fully hidden install.
Conclusion
Installing a dash cam in a Ford F-150 is a straightforward DIY upgrade that improves safety, accountability, and peace of mind, whether you drive a work truck, a family hauler, or a weekend tow rig. Whether you choose a front-facing dash cam, a dual-view dash cam, or a front and rear dash cam for your F-150, the process is nearly the same.
By testing the unit first, mounting it near the rearview mirror, and carefully hiding the cables, you’ll get a professional, factory-style install. For round-the-clock protection, hardwire your F-150 dash cam to enable parking mode.
Installing on a different vehicle? See our guides for the Chevy truck, Toyota RAV4, Honda CR-V, Nissan Rogue, Toyota Camry, and minivans.
If you prefer learning through a video, here you go!


Leave a comment
This site is protected by hCaptcha and the hCaptcha Privacy Policy and Terms of Service apply.